Join the Conversation


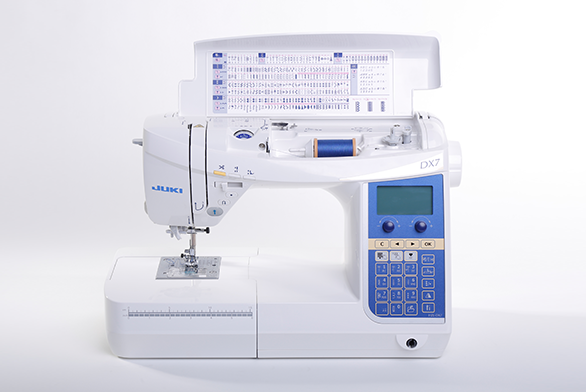
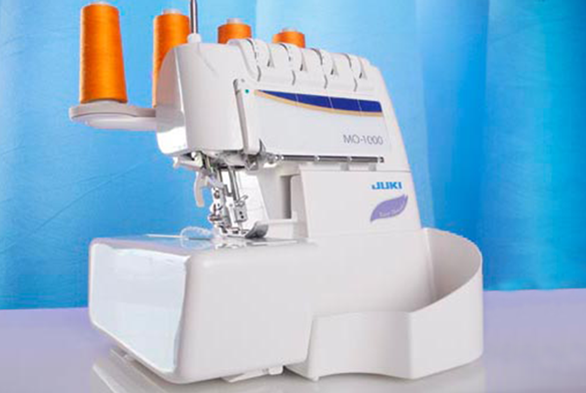
Our Latest Sewing, Serging, and Quilting Machines


Product Registration

Events
Expos, Shows & More!
Find
a Store
#JUKILover

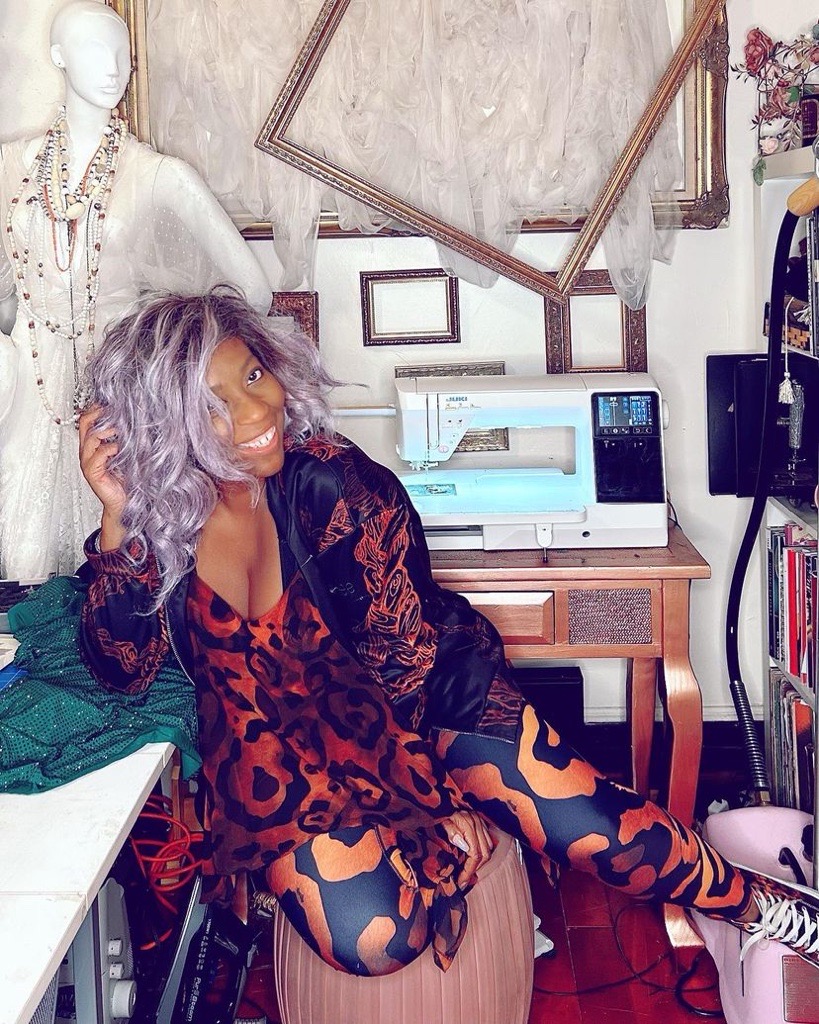
Kenyamollie
Beyond grateful to be a proud JUKI Ambassador! They have been really good to me and I'm grateful! They have blessed my work room with beautiful machinery that I wouldn't have otherwise!

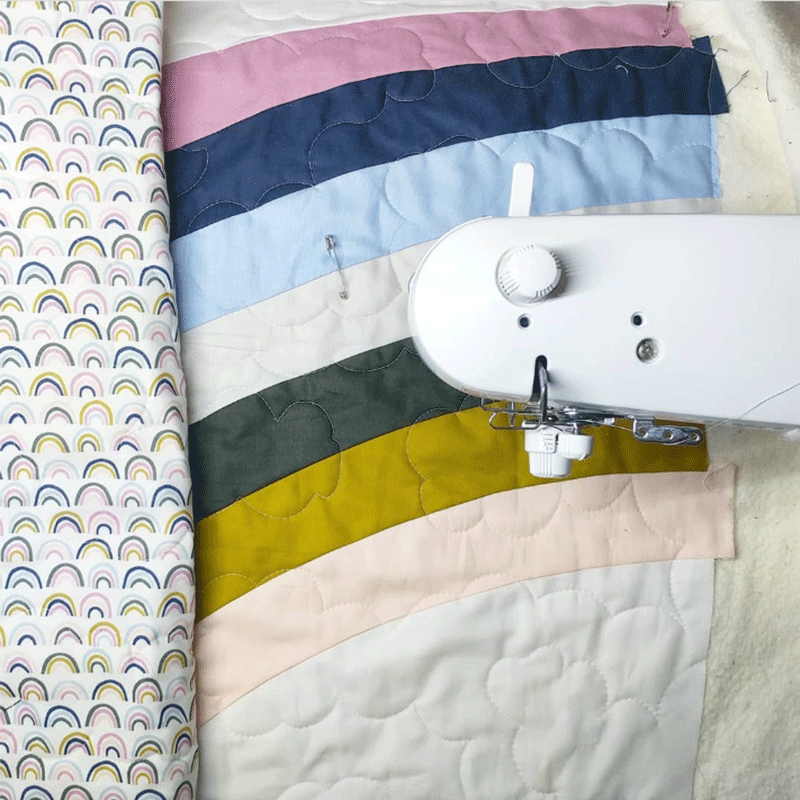
Sliceofpiquilts
Be a rainbow in the clouds. Clouds seemed like the perfect quilting for this one! I looked at a clipart picture of a cloud, then just went for it! It's working out better than I thought it would!
Ponderosacreative
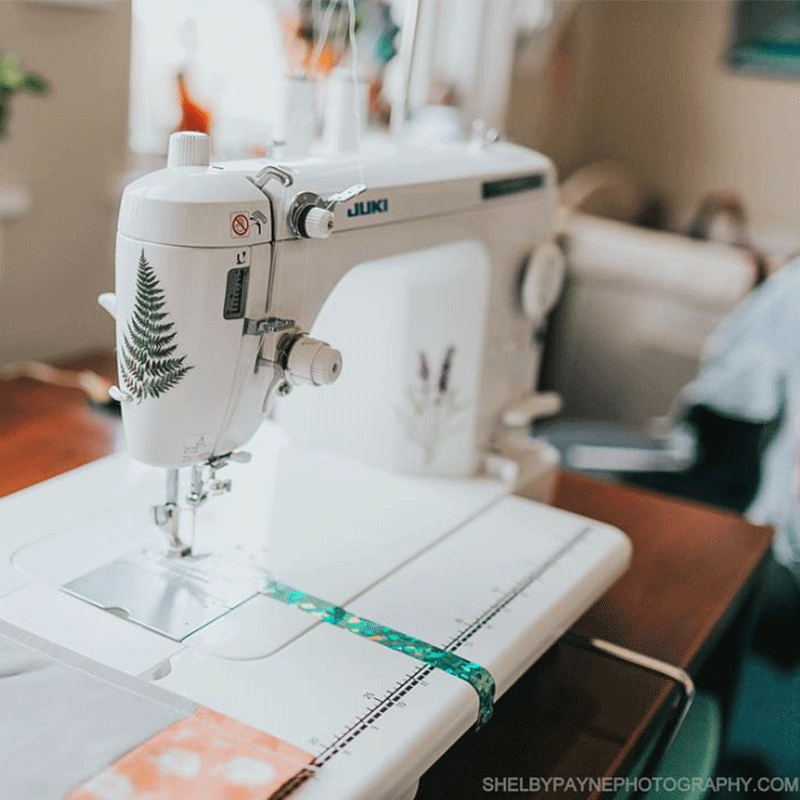
I haven’t sewn anything for a few days and I’m itching to get back to it. Anyone on here having a sewing Saturday? Photo by @shelbyapayne
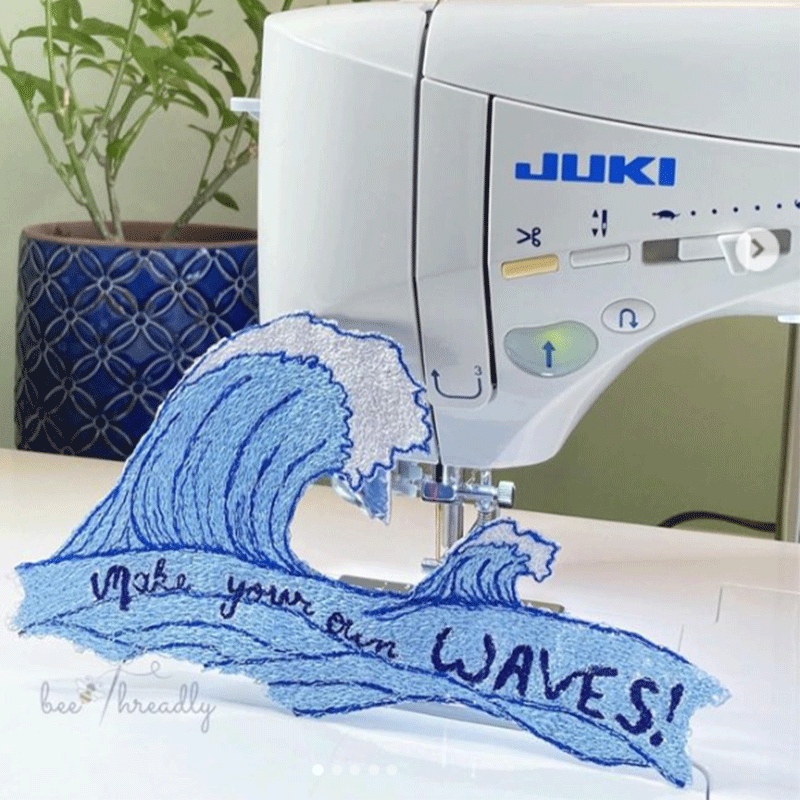
Bee.threadly
Are you a rule breaker? I am. Not in the ways that would get me in trouble with the law. But I like to push the limits of sewing, cooking, crafting, and coding.
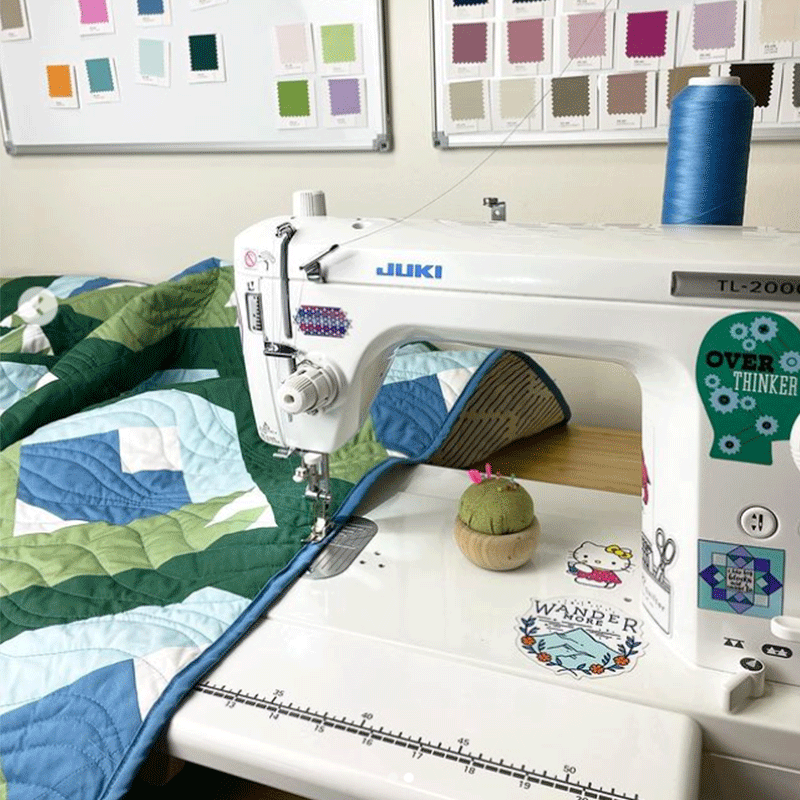
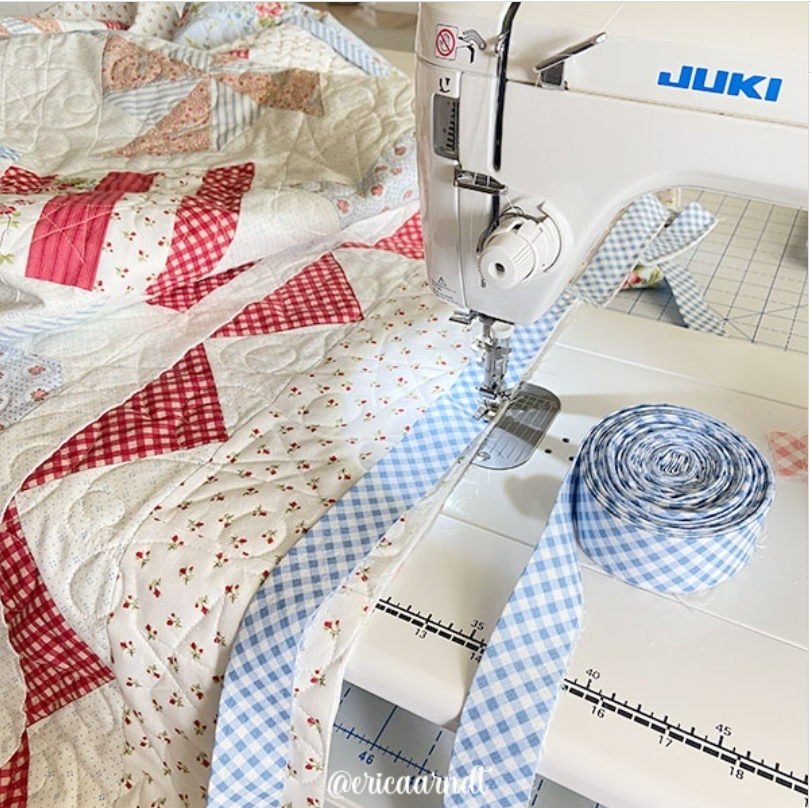
Compassandwildflower
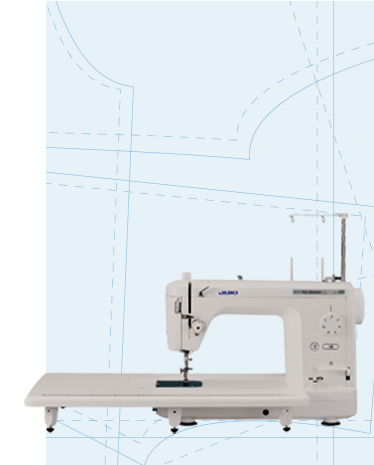
This is where most of the fun happens. ✨ Quite a few have asked which sewing machine I’ve been using for my free-motion quilting. This is the one! It’s the Juki TL-2000qi!
matantequilting
I have made the *tiniest* bit of progress on my Log Cabin quilt!
Sewing machine: Juki TL-2010Q from @jukihomesewing
downstairsdesigns
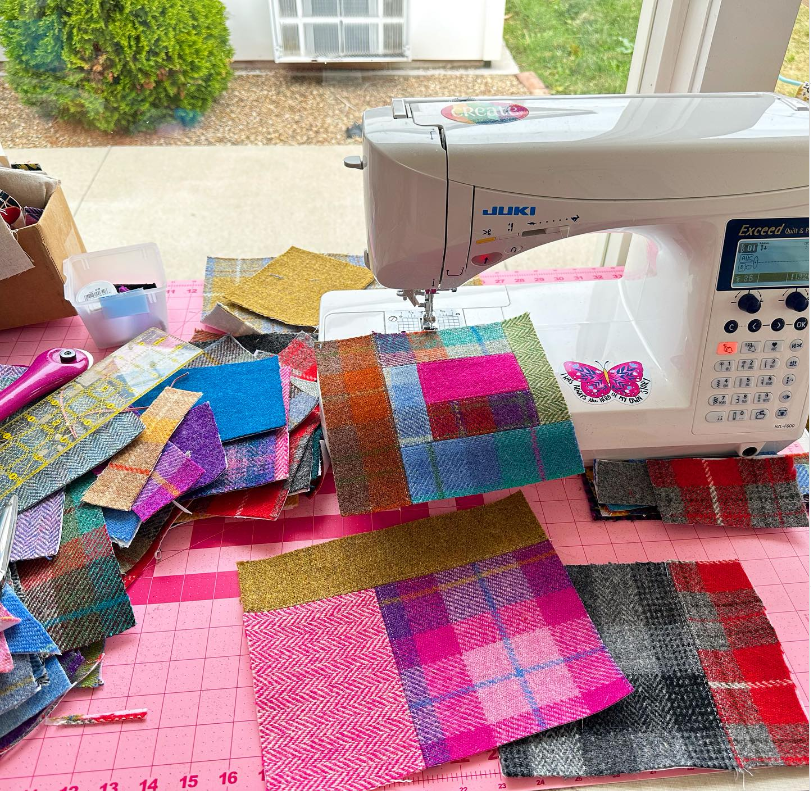
Having so much fun with the Harris Tweed in the shop today, I just had to take a quick picture to share all the colorful goodness! Busy making more patchwork panels for both the new smaller crossbody bags as well as the larger handbag style.
Nicole Moore from sewmuchmoore
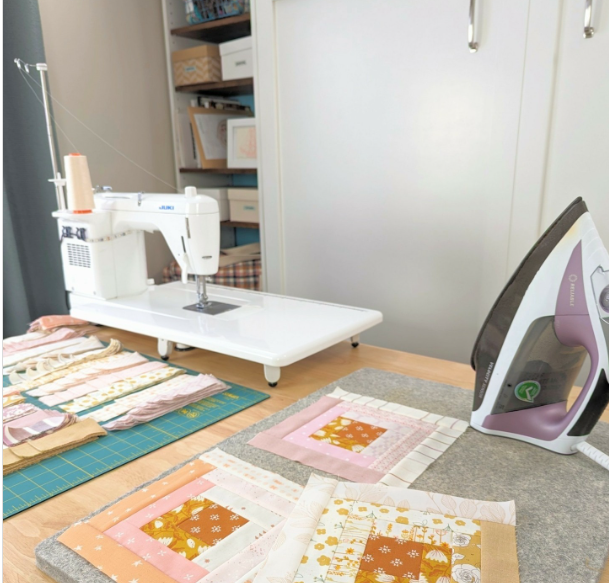
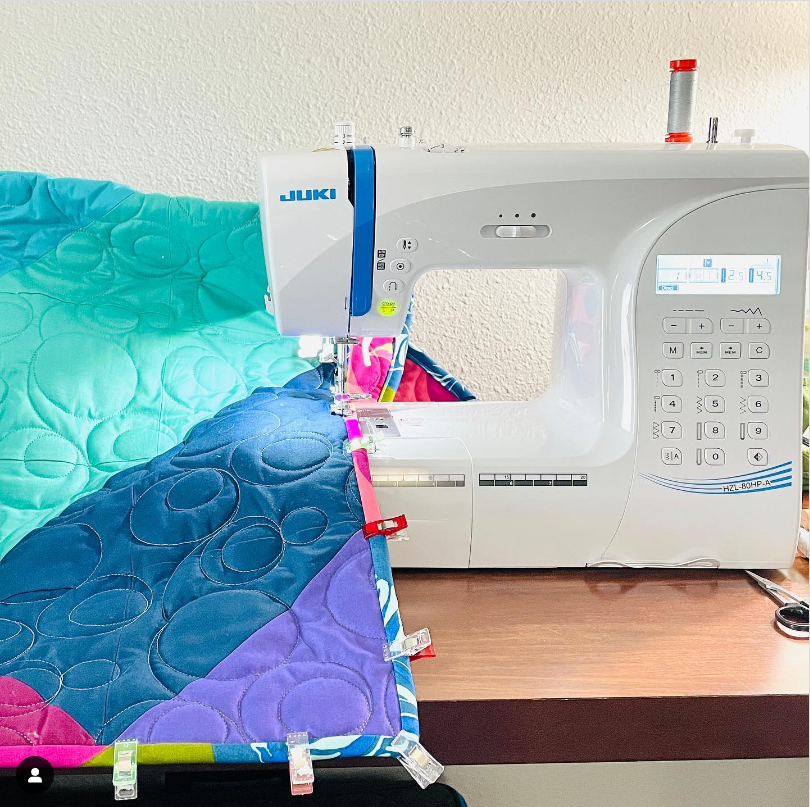
Finishing up the binding on my Fractal Patchwork quilt. My travel sewing machine comes with me when I’m in the road. This is the Juki HZL-80HP-A.
emilyvanhoff
My little sewing corner! Which is in my bedroom, part of my living room, which is connected to my kitchen. Mmmmm, city living, I wouldn’t trade it for anything.